
QuickBooks installation and update process can turn out to be a humongous task on account of the different error codes that pop up out of nowhere. In the current blog, we shall pay attention to QuickBooks Error 15311, an error observed when users try to update QuickBooks Desktop through the Help tab. It leads to a sudden crashing of QuickBooks and keeps on coming up when the user tries the update process the next time. Read the blog and master the steps to fix QuickBooks Error code 15311.
Different Solutions To Fix QuickBooks Update Error 15311
Solution 1: Install latest compatible Digital Signature Certificate
The steps are:
- Go to the file path – Drive(C)/Program Files (x86)/Intuit/QuickBooks.
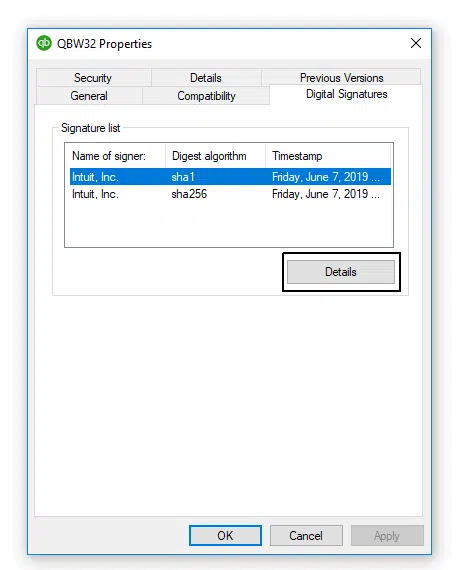
- Now, hit a right-click on QBW32.exe file.
- Choose Properties
- Then, click on Digital Signature. Go to Details, followed by View Certificate.
- Head to General tab, then click on Install Certificate.
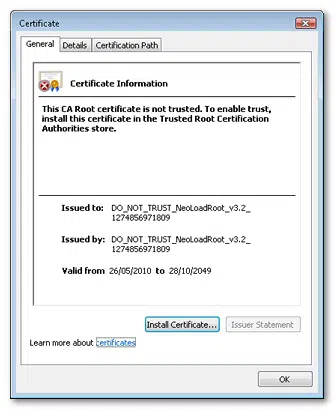
- When the installation is complete, run QuickBooks and try the update again. Error code 15311 should be sorted.
Solution 2: Run Reboot.bat
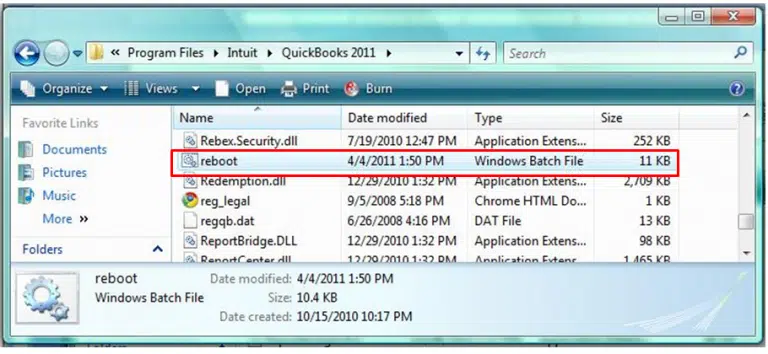
Reboot.bat file allows registration of all QuickBooks components afresh. Running this file can fix QuickBooks Error 15311. The process is:
- Right-click QuickBooks icon, click on Properties.
- Go with Open File Location option.
- Right-click Reboot.bat file, and then click on Run as Administrator.
- To process may take a while and when done, QuickBooks will be registered successfully.
- The next step is to Run QuickBooks as admin and go to Help < Update QuickBooks Desktop < Get update.
- Run QuickBooks after the update and install the downloaded update.
Solution 3: Incorporate the accurate Payroll Service Key
- Run QuickBooks, then go for Employees tab.
- Click on My Payroll Service, followed by Manage Service Keys.
- Hit Edit.
- Check the key. If it shows any deviation from the correct one, change it and then Save the changes.


