

How to Paint a Shaker Door with Durable and Long-Lasting Results
Painting a Shaker door is one of the simplest ways to refresh your interior without replacing the entire door. If you understand the right surface preparation, painting techniques, primer selection, and drying times, you can achieve a professional-quality finish that lasts for years. Many homeowners search for guidance on how to paint a Shaker door because they want results that look smooth, resist peeling, and protect the door’s structure over time.
Shaker doors are already popular for their clean lines and minimalist look. With the right DIY painting approach, you can elevate their appearance even more while ensuring the finish stays strong and attractive. In this guide, you will learn how to paint a Shaker door correctly, how primer improves durability, how sanding enhances paint adhesion, and how to choose an approach that fits your interior style. Each technique is simple but requires patience and consistency to produce long-lasting results.
This comprehensive guide focuses on Shaker interior doors of all types, including solid wood Shaker doors and paintable wardrobe doors, while avoiding harsh chemicals that could damage the structure. Whether your door has a natural wood surface, an MDF core, or a paint grade vinyl coating, this step-by-step process will help you achieve a smooth, modern look that complements a wide range of interior spaces.
What Makes a Shaker Door Unique?
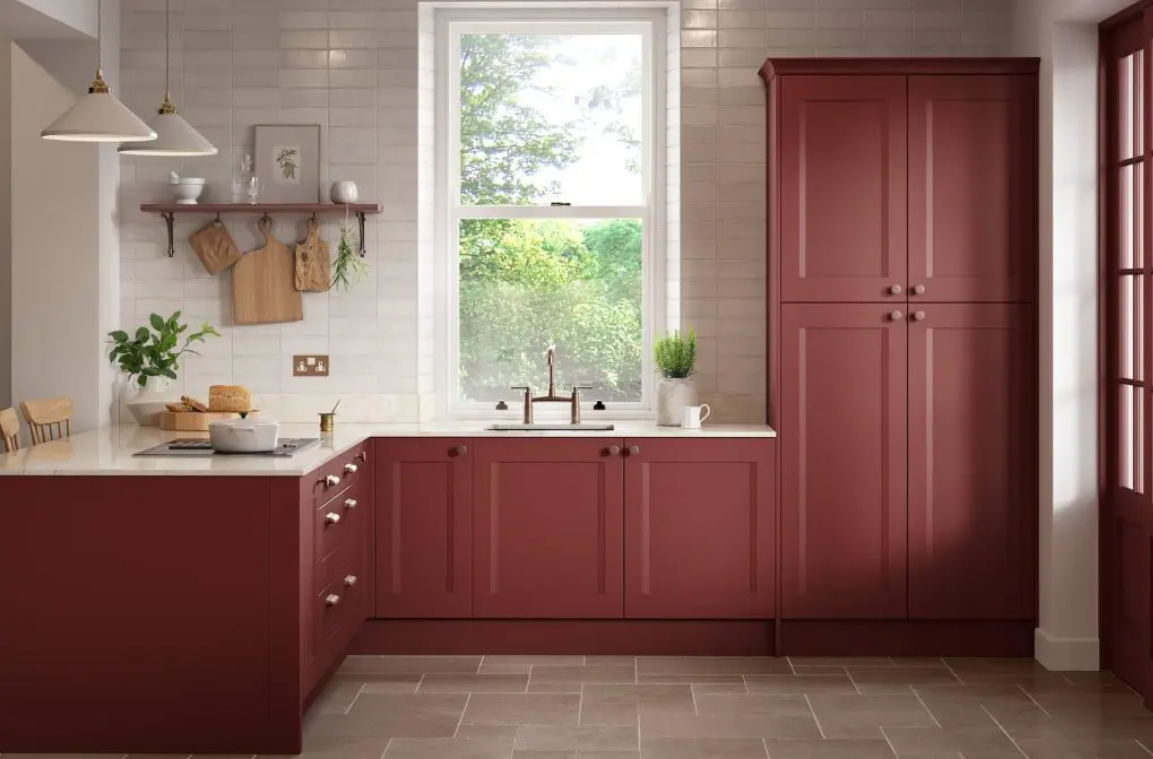
A Shaker door features a flat recessed center panel framed by clean rails and stiles. This structure gives the door a classic yet modern look that fits almost every décor style. The simplicity of the design also makes Shaker doors ideal for DIY painting because the surface is easy to smooth, prime, and refinish.
Solid wood Shaker doors have a sturdy structure that absorbs paint well. Paint grade vinyl coatings and MDF-based Shaker options offer smooth surfaces that allow primer and paint to adhere without difficulty. Because Shaker doors rely on clean lines rather than ornate moldings, painting techniques focus on uniform application and careful brushing along the frame.
Step-by-Step Guide: How to Paint a Shaker Door for Long-Lasting Results
Proper preparation is the foundation of durable results. These steps will help you paint a Shaker door with a finish that looks clean, smooth, and professionally done.
Step One: Surface Preparation
Before applying any primer or paint, preparing the Shaker door’s surface is essential. Good preparation removes dirt, oils, fingerprints, and any old finish that may prevent the new paint from bonding properly. Key actions in this step
- Clean the entire Shaker door using mild soap and warm water to remove surface contaminants and allow paint to bond evenly.
- Use lightweight grit sandpaper to smooth imperfections and create tiny abrasions that help primer and paint adhere more securely over time.
- Wipe the surface with a damp microfiber cloth to remove sanding dust and ensure a clean painting surface without residue.
- Inspect the flat panels, rails, and stiles to ensure there are no cracks or uneven areas that could interfere with a smooth finish.
Good surface preparation improves paint adhesion and ensures that the final result is free of bumps, dust flakes, and streaks.
Step Two: Using the Right Primer
Primer is essential to achieving a long-lasting painted finish because it seals pores, evens out the surface, and enhances final color uniformity. For solid wood Shaker interior doors or MDF-based versions, primer is especially important because these materials absorb paint quickly. Key actions in this step
- Choose a primer suitable for Shaker doors, especially if the surface includes MDF, solid wood, or paint grade vinyl coating.
- Apply one even coat of primer, using long vertical brush strokes to match the natural direction of the door’s lines.
- Allow the primer to dry completely before sanding, since partial drying causes uneven texture and weak paint adhesion.
- Lightly sand the primed surface using fine grit sandpaper to remove small bumps and prepare the door for smooth topcoating.
Primer ensures your paint sticks properly, enhances durability, and helps prevent peeling or chipping later.
Step Three: Choosing the Right Painting Technique
The painting technique you select affects how smooth and uniform your Shaker door looks after drying. DIY painting normally involves a combination of brushwork and controlled strokes to avoid streaks. Key actions in this step
- Use a 1-inch brush for edges, a 2-inch brush for rails and stiles, and a 3-inch brush for the flat center panel.
- Apply paint using soft, vertical brush strokes that follow the long direction of the frame to create a consistent finish.
- Avoid overloading the brush with high solids paint because too much material creates drips, pooling, or uneven texture.
- Check for missed spots by stepping back between coats, ensuring coverage is even and consistent across the entire door.
Selecting the right technique influences the door’s final texture, creating a smooth and polished look.
Step Four: Applying the First Coat of Paint
The first coat sets the foundation for color depth and texture. Using moderate brush pressure keeps your strokes clean and reduces marks. Key actions in this step
- Apply the first coat smoothly, keeping brush strokes long and even across flat surfaces, rails, and stiles.
- Allow the first coat to dry fully, avoiding early sanding or re-coating so the paint layer settles naturally.
- Monitor the drying environment and avoid humidity, since too much moisture can affect how high solids paint cures.
- Confirm that the coat is even before moving forward. Small inconsistencies can be corrected before the next stage.
A strong first coat enhances the paint’s durability and reduces the chance of peeling.
Step Five: Second Coat Sanding
Sanding between coats creates a flawless finish. Since the first coat can leave small raised fibers or inconsistent texture, this step ensures the final layer looks smooth. Key actions in this step
- Use fine grit sandpaper to gently smooth the entire surface without removing the first coat completely.
- Sand lightly along vertical strokes and over the recessed panel, avoiding harsh pressure that damages edges.
- Clean all sanding dust using a microfiber cloth to maintain a dust-free painting environment.
- Inspect the door under good lighting to confirm that all surfaces are uniform and ready for the topcoat.
This sanding step helps achieve a flawless, smooth professional finish.
Step Six: Applying the Final Topcoat
The final topcoat determines the durability and visual appeal of your painted Shaker door. This layer protects the structure and enhances the smoothness and color consistency. Key actions in this step
- Apply the topcoat using long vertical strokes, making sure paint is distributed evenly across the door’s surface.
- Maintain thin, controlled layers of paint to avoid uneven buildup or drips along the recessed panel edges.
- Let the topcoat dry completely before reattaching the door to its hinges or installing the hardware.
- Review the door for uniformity, checking both color depth and surface consistency from different angles.
A well-applied topcoat ensures your door looks polished and performs well over time.
How to Paint a Shaker Door with a Roller
While most homeowners use brushes for detailed control, rollers are suitable for achieving a super-smooth finish. Choose a foam roller for minimal texture.
- Use a foam roller for the center panel, rolling lightly for even coverage.
- Switch to a brush for rails, stiles, and edges so paint doesn’t accumulate where the roller cannot reach.
- Avoid pressing too hard, since heavy pressure creates bubbles or uneven texture on solid wood Shaker doors.
This method is ideal for DIY painting on large flat surfaces.
Tips for Achieving a Smooth Painted Finish
To create a seamless and elegant finish, consider these helpful painting techniques:
- Maintain steady brush pressure to create consistent strokes across flat and recessed areas.
- Avoid backbrushing after the paint begins drying because this causes streaking or rough texture.
- Ensure complete drying between all coats for best adhesion and longevity.
- Work in a clean environment so dust does not settle onto wet paint.
These small details make a big difference in the final look.
Common Painting Mistakes to Avoid
During DIY painting projects, certain mistakes can affect longevity:
- Skipping primer reduces adhesion and causes paint to peel sooner.
- Using rough sandpaper leaves scratches and disrupts the smooth Shaker surface.
- Applying heavy coats results in drips, sagging, or uneven color depth.
- Rushing drying times prevents the paint from curing properly.
Avoiding these mistakes ensures a professional appearance and long-lasting performance. You can also check this guide on How to maintain your interior doors tips for long lasting durability.
Conclusion
Painting a Shaker door requires patience, preparation, and the right painting techniques, but the process is manageable for most homeowners. Understanding how to paint a Shaker door correctly increases its durability, smoothness, and long-term appeal. By investing time in surface preparation, primer application, consistent brushwork, and careful drying, you can transform an outdated door into a modern and stylish feature that complements your interior.
If you ever decide to upgrade your existing door instead of repainting it, Evolux Doors offers high-quality solid wood Shaker doors and flush doors that arrive ready for installation or finishing. Their products come in various sizes and designs suitable for modern homes, and each one is crafted with long-lasting materials that enhance your interior with elegance and detail.
FAQs
- Can Shaker interior doors be painted?
Yes, Shaker interior doors are highly paintable. Their clean recessed panel design makes them ideal for DIY painting. Using a good primer and sanding technique ensures smooth paint adhesion and a long-lasting finish.
- How to paint a Shaker door with a roller?
A foam roller helps create smooth coverage on the flat center panel. Use light pressure and long movements, and switch to a brush for edges, rails, and stiles to maintain clean lines without texture buildup.
- How to paint a Shaker door white?
Start by cleaning and sanding the door, then apply a quality primer followed by two thin coats of white high solids paint. Sand between coats lightly for smoothness, and finish with a topcoat for durability.
- How to paint the edges of a Shaker door?
Use a small 1-inch brush along the edges, applying thin, controlled strokes to avoid drips. Work slowly and allow each edge to dry completely before rotating the door to maintain smoothness.
- What brush size is best for painting a Shaker door?
A 1-inch brush works for edges, a 2-inch brush fits rails and stiles, and a 3-inch brush works for recessed panels. Using the correct brush size improves control and finish quality.
